Energy Bar Toolkit 1.8.0 introduces a new kind of NGUI integration. Unfortunately there’s no easy migration method between old and new one because this one has been completely rewritten from scratch. If you’re new to Energy Bar Toolkit and NGUI, you shouldn’t worry about this though.
Integration status
Energy Bar Toolkit gives you a “swallow” kind of integration with NGUI. This means that progress bars won’t act the same as any other NGUI widgets, but it gives the impression to be one. EBT bars are existing as separate game objects and NGUI integration only puts them in the right place.
What works?
- Selecting, transforming, scaling
- Anchoring to GUI components and edges
- Colorizing, fading
What doesn’t?
- Progress bars are always on the top (z-order)
- Clipping
Preparations
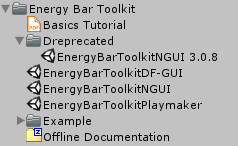
Energy Bar Toolkit comes with several included unitypackages within. Old NGUI integration is located in Deprecated directory, and the new one (EnergyBarToolkitNGUI) is the main directory. To start using the NGUI integration you just have to double-click on it and confirm importing this package into your project.
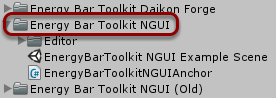
After importing, in your project you should be able to find Energy Bar Toolkit NGUI directory.
To start using Energy Bar Toolkit NGUI integration, you have to be in initialized NGUI scene. If you don’t know how to initialize NGUI, please refer to the NGUI documentation.
Creating bar
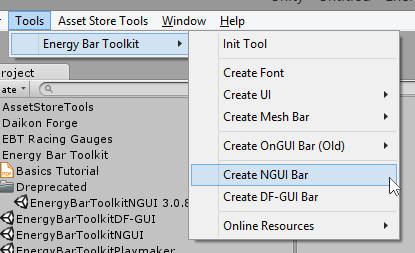
In the main menu you should find Tools → Energy Bar Toolkit → Create NGUI Bar. Click on it!
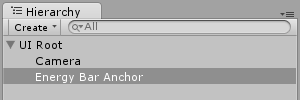
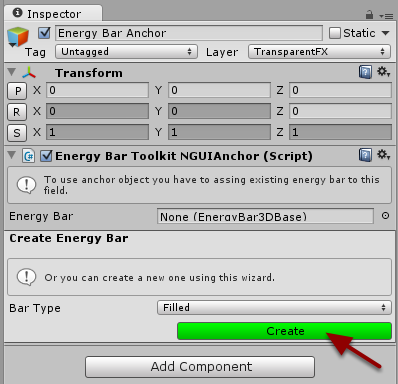
New Game Object called Energy Bar Anchor will be created.
Now look at the Inspector view. Because this object is just an anchor (a connector between NGUI and Energy Bar Toolkit) you can find there a field to put real bar object. Usually you want to create a new bar for every anchor, so if you look down you can see a simple form for creating new bar. Make sure that Bar Type is set to Filled, then click the Create button.
Ouch!… Something went wrong…
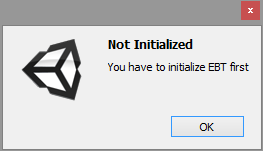
In order to use Energy Bar Toolkit mesh renderers, you need to initialize the scene for EBT. If your scene is not yet initialized, this message will popup, and right after this the Init Tool will appear. You can read more about Init Tool here, but in most common cases you probably would just press the Create button without changing anything.
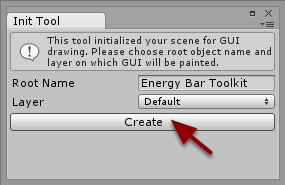
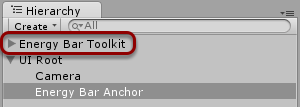
The new Energy Bar Toolkit root Game Object will appear. This means that your scene is initialized for Energy Bar Toolkit.
Do you remember the green Create button in Energy Bar Anchor inspector? Try clicking on it again.
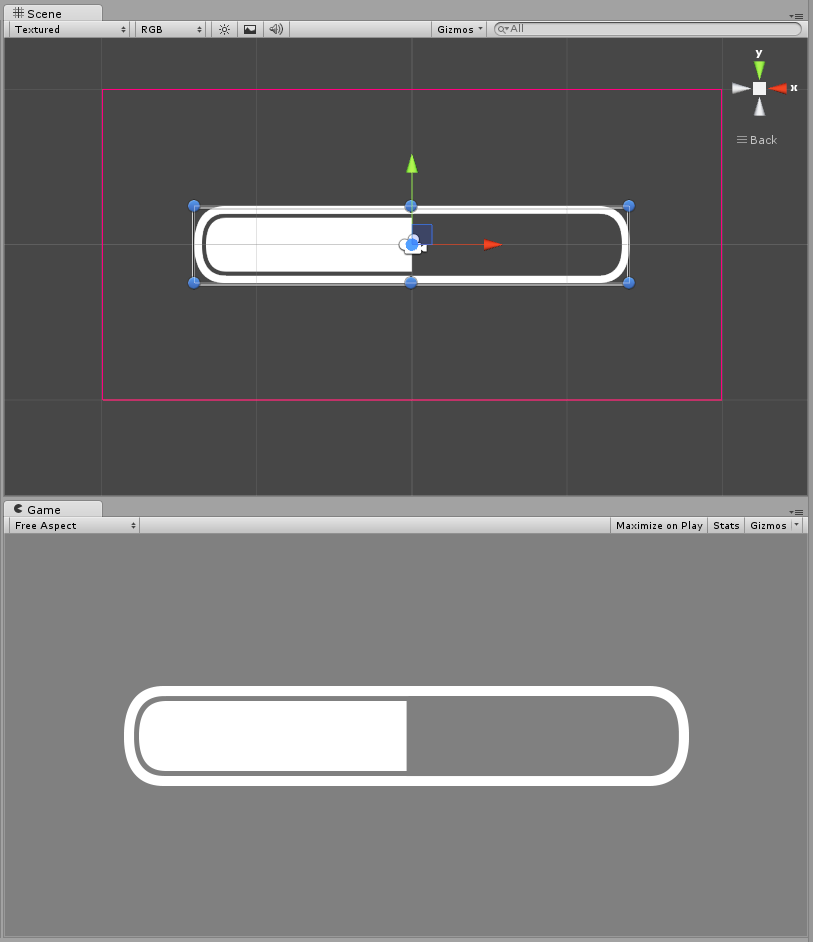
Now we’ve finally managed to create something that actually looks like a bar! Your first NGUI bar has appeared! This bar will act similar to NGUI widgets. If you look at the inspector, you may see an error. This one means that Energy Bar Toolkit and NGUI are using different layers, which may cause unwanted behavior. To fix it, just press the Change It button.

Let’s take a look at the anchor inspector. You can see there all functions known to you from normal Energy Bar Toolkit usage (not visible on the image), and NGUI-specific settings (on the image).
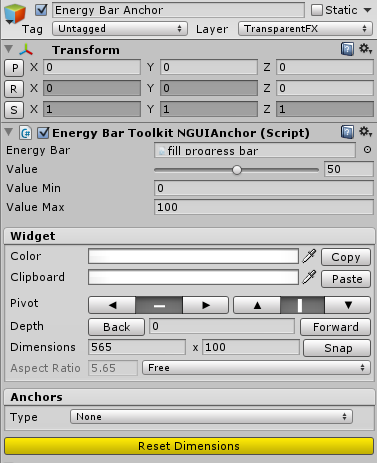
The Reset Dimensions button is something that you will see only in Energy Bar Toolkit NGUI inspector. Normally bars will be resized to match NGUI widget size. If you press Reset Dimensions, bar and widget will be resized to the original size of the bar.