![]()
Beginning with version 1.7.1 Daikon Forge GUI is officially supported. From now on you can use Energy Bar Toolkit mesh renderers with this great GUI library!
Integration status
Energy Bar Toolkit gives you “swallow” kind of integration with DF-GUI. This means that progress bars won’t act the same as any other Daikon Forge widgets, but it gives the impression to be one.
What works?
- Energy Bar Toolkit position in DF-GUI menu is present
- Selecting, transforming, scaling
- Anchoring to GUI components and edges
- Colorizing, fading
- Enable / disable GUI state
What doesn’t?
- Progress bars are always on the top (z-order)
- Clipping
Preparations
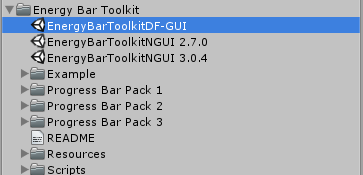
First you have to own Energy Bar Toolkit 1.7.1 or above. Then you need to unpack DF-GUI integration package that is located in Energy Bar Toolkit / EnergyBarToolkitDF-GUI.unitypackage file.
Setup
This setup will explain to you the absolute minimum number of steps to make progress bar from Energy Bar Toolkit work with DF-GUI.
Creating GUI
Let’s start with the empty Scene.
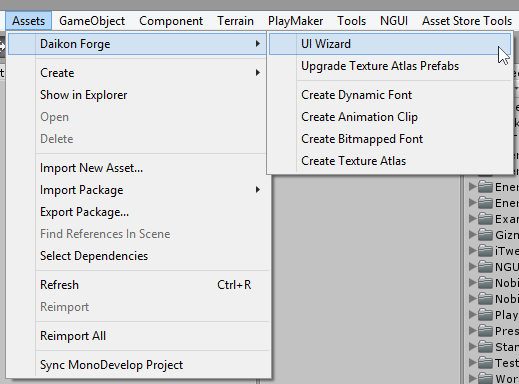
Initialize Daikon Forge by selecting Assets → Daikon Forge → UI Wizard from the main menu.
The wizard will appear.
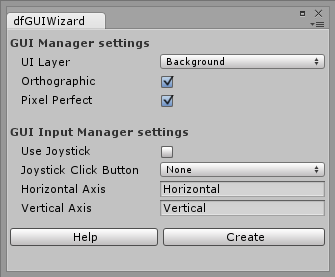
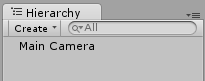
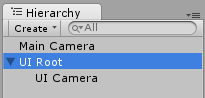
Select a Layer where DF-GUI should paint it’s widgets. I’ve chosen Background layer that I had available by default in my Unity3D installation. Leave all other values at the default state, then press the Create button. Your Hierarchy view should now look like this:
Creating Energy Bar
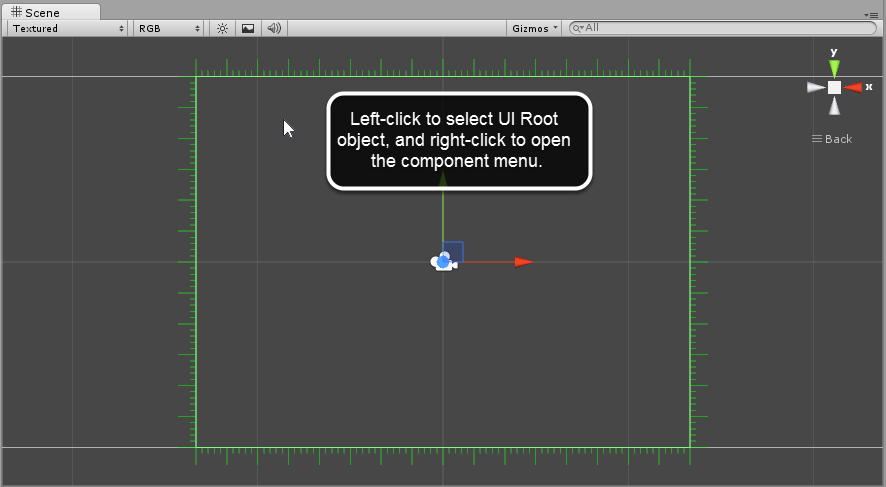
The simplest way to create a new bar is through the component menu. Go to your Scene window. Here left-click on the green rectangle to select UI Root, and then right-click to open the component menu.
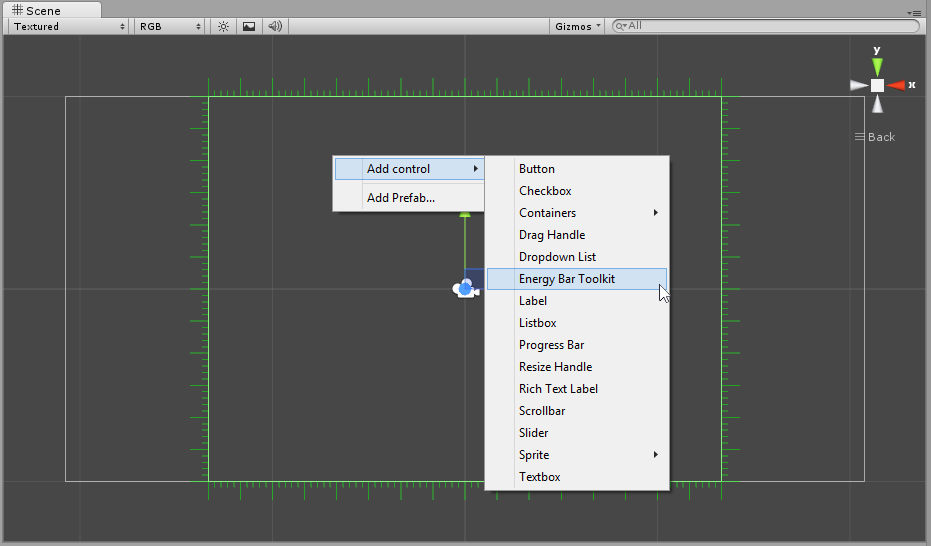
In the component menu choose Add control → Energy Bar Toolkit.
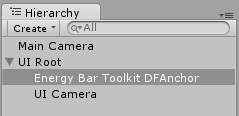
This will create an anchor object, that is a sort of connector between EBT and DF-GUI.
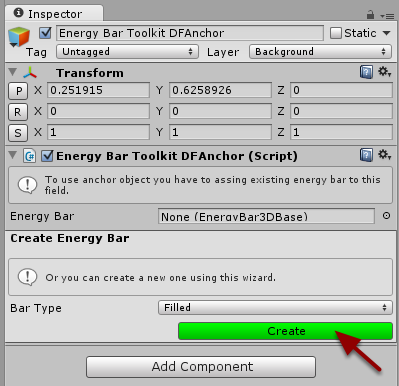
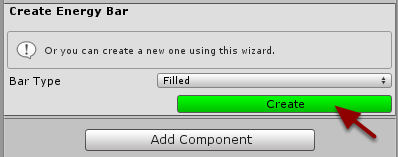
Now take a look at its inspector. You can see there is a field to place bar object, and below there is a wizard to create a new bar. Because we don’t have any bars yet, make sure that Bar Type is set to Filled, and then click on the Create button.
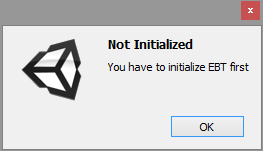
Ouch… Did we miss something? Don’t worry if you forget to initialize EBT. This popup will show, and right after this…
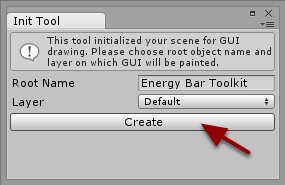
…the Init Tool will show up. You can read more about Init Tool here, but in most common cases you probably would just press the Create button without changing anything.
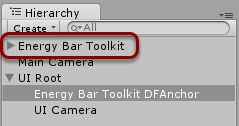
The new Energy Bar Toolkit root Game Object will appear. This means that your scene is initialized for Energy Bar Toolkit.
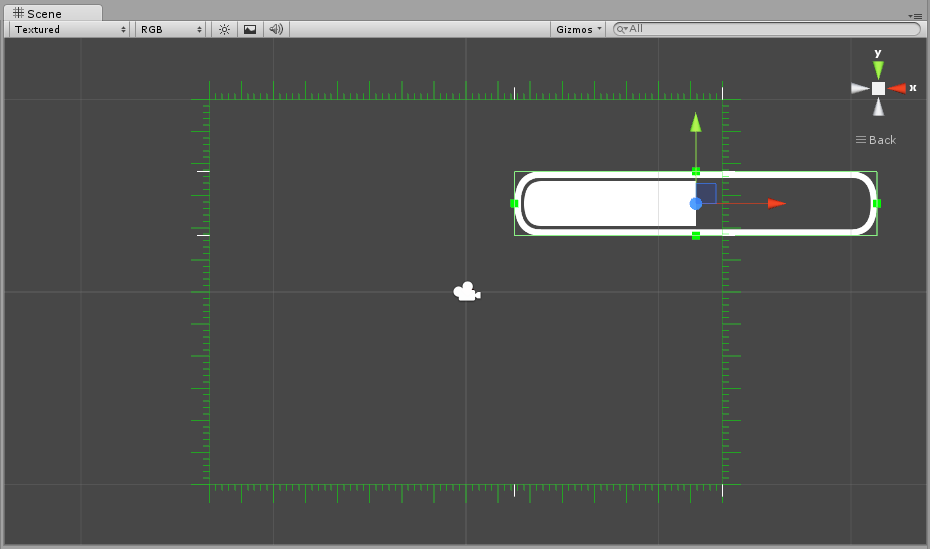
Do you remember the green Create button in Energy Bar Anchor inspector? Try clicking on it again.
Now we’ve finally managed to create something that actually looks like a bar! Your first DF-GUI bar has appeared! This bar will act similar to DF-GUI widgets.
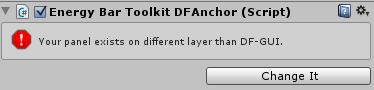
If you look at the inspector, you may see an error. This one means that Energy Bar Toolkit and DF-GUI are using different layers, which may cause unwanted behavior. To fix it, just press the Change It button.
If you’re taking a closer look at the inspector, you can notice that there are settings you are familiar with from DF-GUI and Energy Bar Toolkit altogether. On top of that there is one big yellow Reset Dimensions button.
The Reset Dimensions button is something that you will see only in Energy Bar Toolkit DF-GUI inspector. Normally bars will be resized to match DF-GUI widget size. If you press Reset Dimensions, bar and widget will be resized to the original size of the bar.

And that concludes the Energy Bar Toolkit DF-GUI tutorial!