Introduction
This renderer is used to create bars from sequence of images (just like gif images) that can animate forwards and backwards. It’s great for bars with irregular animation.
Usage
In order to create a new Mesh Sequence Renderer bar select Tools → Energy Bar Toolkit → Create Mesh Bar → Sequence from the main menu or Create → Energy Bar Toolkit → Mesh Sequence Bar in the Hierarchy window.
You should see the result immediately:
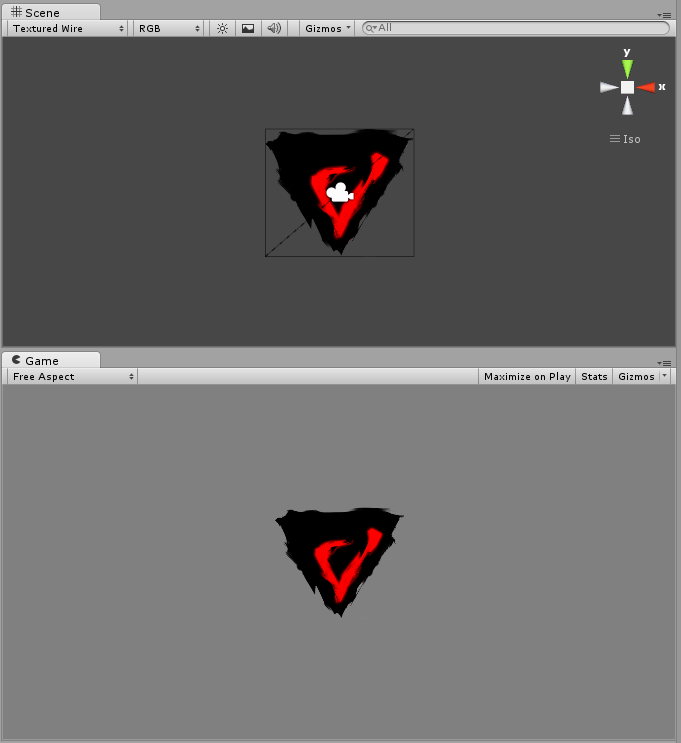
This component is created in a way to display something as soon as possible. By default it’s setup using stock graphics that you probably would want to change.
Configuration
In order to make things easier, Inspector of Energy Bar Sequence Renderer is split to 4 different sections: Textures, Position & Size, Appearance, and Effects. Let’s start with…
Textures
This section starts with Render Method field. It can be set to one of these values:
- Grid – Select this if you have one big texture arranged as a grid.
- Sequence – Select this if you have many small textures.
Grid rendering method uses one big previously prepared texture grid, that should look like this:
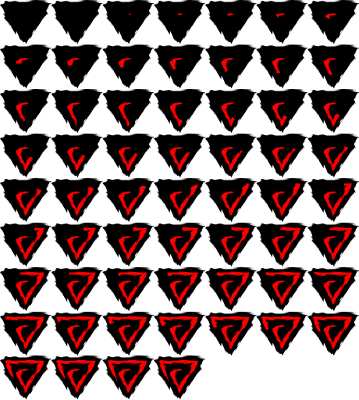
In order it to work, the grid on the texture should consists of equally sized textures (frames) in regular distances.
For example if one frame size is 64×64, and your animation consists of 4 frames, then your grid can be arranged as texture of size 256×64 (4×1) or 128×128 (2×2). Renderer algorithm will then split the texture to frames based on your grid width & grid height settings.
Grid and Sequence inspectors are a little different, so we will describe the grid first.
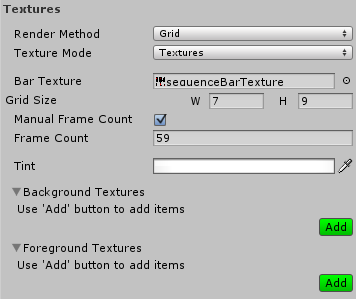
Grid inspector
This is the same image as above:
- Texture Mode – Here you can choose if you want to use textures files or an atlas. If you want to reduce number of draw calls, you should read more about atlases.
- Bar Texture – The grid texture.
- Grid Size – Dimensions of this grid.
- Manual Frame Count – Frame count is calculated as Frame Count = Grid Width X Grid Height. If your grid has a smaller number of frames (like in the example above), please enable this option.
- Frame Count – Number of manual frames.
Sequence inspector
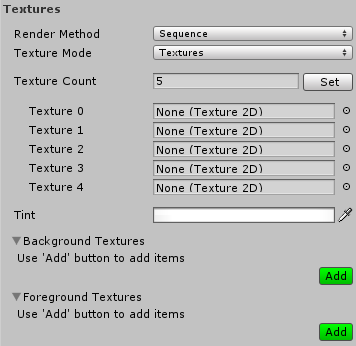
- Texture Mode – Same as above.
- Texture Count – Number of textures. You have to use the Set button to apply new number of textures.
- Texture X – Where you should put your textures.
Common Settings
- Tint – The tint of bar texture.
You are allowed to add any number of background and foreground textures. To add new texture just click the Add button. You can remove it later by clicking the X button. For each texture you can setup its tint.
- Background Textures (optional) – Textures to draw on the bottom layer.
- Foreground Textures (optional) – Texture to draw on the top layer.
Position & Size
This section is widely described in Mesh Filled Renderer and it’s functionality is identical across all renderers.
Appearance
Here you can setup how your bar should appear to the user (except textures setup).
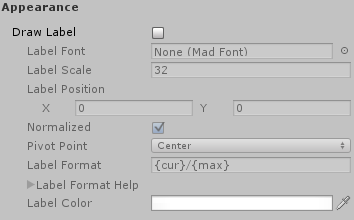
- Draw Label – Draw label on top of your bar.
- Label Font – Font created by Tools → Energy Bar Toolkit → Create Font.
- Label Position – Place where to draw label.
- Normalized – Normalizes label position from 0,0 (bottom-left) to 1,1 (top-right)
- Pivot Point – The pivot point of label object.
- Label Format – Format of the label. See description below.
- Label Color – Fill color of this label.
- Label Outline – Draw outline for this label.
Label Format Description
- {cur} – current int value
- {min} – minimal value
- {max} – maximum value
- {cur%} – current % value (0 – 100)
- {cur2%} – current % value with a precision of one decimal place (0.0 – 100.0)
Examples
- {cur}/{max} – 27/100
- {cur%} % – 27 %
Effects
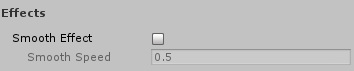
- Smooth Effect – Smoothly animated growing and shrinking.
- Smooth Speed – How fast animation will be progressing.