Stating from Energy Bar Toolkit 2.0.0 you can create and use texture atlases. It’s a great way to reduce number of draw calls even to one draw call on the scene!
Creating an atlas
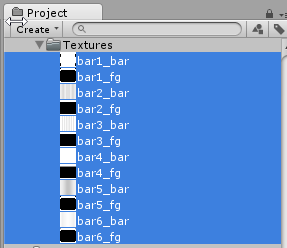
To create an atlas just select all the textures that you want to add to your new atlas.
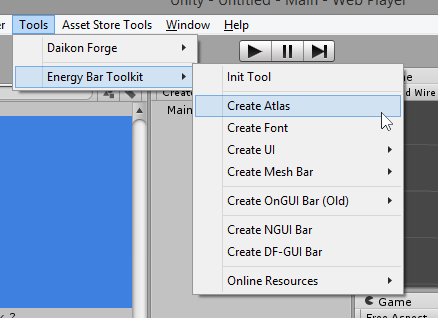
And then execute from the main menu Tools → Energy Bar Toolkit → Create Atlas.
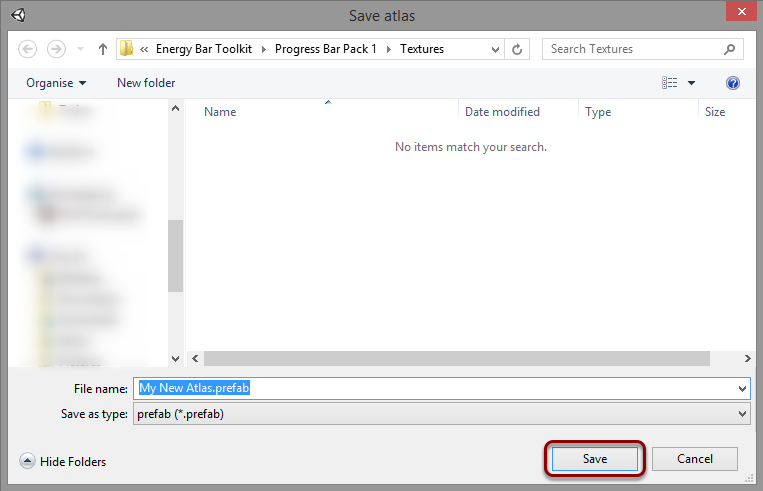
You will be prompted to enter an atlas prefab name. Set the name, and press the Save button.
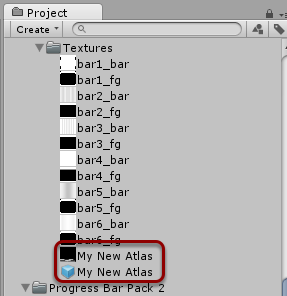
Your new atlas texture and prefab will be created:
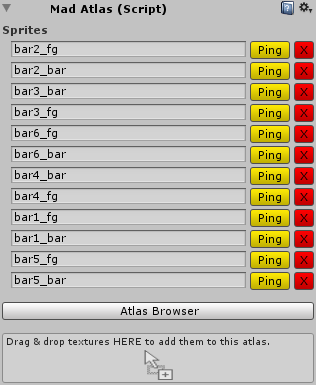
If you select the prefab, you will gain access to a prefab manager. Here you can add or remove any sprites from the atlas. To remove a sprite, press the X button. To add a sprite, drag & drop its texture into the field below.
Using atlases
You can use an atlas with any bar renderer (except OnGUI renderers) that have Texture Mode field available in its inspector:

You have to change this option from Textures to Texture Atlas. When it is done, you will see field for choosing your atlas.

You have to drag & drop your atlas prefab into this field, so it will look like this:

Now all your texture fields will look similar to this:

All textures from the atlas must be selected using the Atlas Browser. You just have to press the Browse button and the browser will appear:
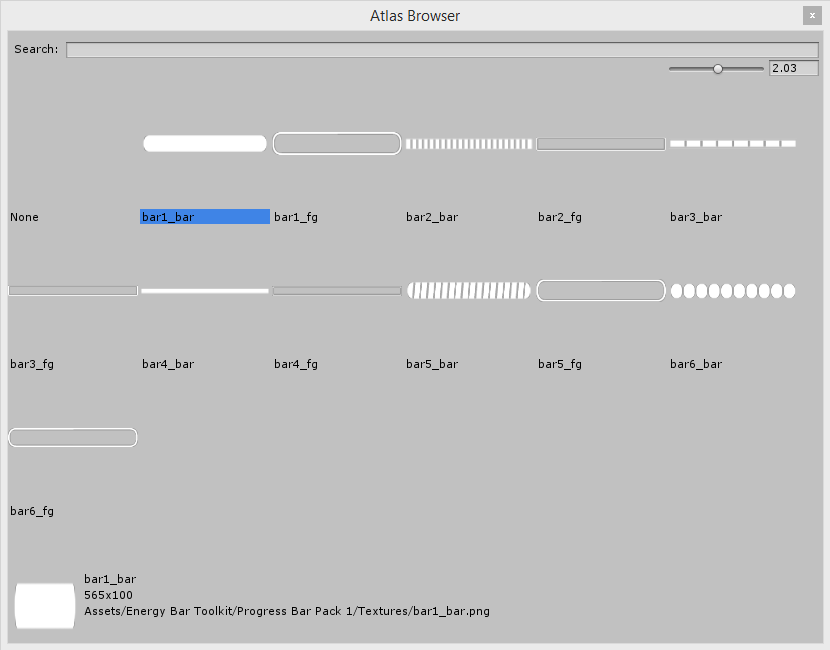
Atlas Browser allows you to preview and choose sprites from your atlas. By clicking on the sprite once you will apply it into the field. By clicking twice you will apply the sprite, and close the Atlas Browser.